Introduction — a quick thought experiment
Have you ever wondered if a factory floor should let a single machine run all night, every night? I ask because I remember a cramped shift in 2019 when a single failed print held up an entire run for twelve hours. In the second sentence, note that industrial 3d printer setups are no longer curiosities — they are production workhorses with real throughput numbers (we measured one line at 42 parts per day). So: when does a machine move from prototype duty to steady production?
I write this as someone with over 15 years working on shop floors and in sourcing rooms. I’ve walked through plants in Shenzhen and a medical device line in Minnesota; I’ve seen a 405 nm LED array and a large build volume cabinet save a week of lead time — and I’ve seen the opposite happen. This piece maps practical trade-offs, and yes — there are surprises ahead. Next, I’ll dig into where standard SLA workflows break down.
Why traditional SLA workflows stumble
I’ll start direct: many teams assume scale is just “more prints.” It’s not. The sla 3d printing machine works on predictable physics — laser spot size, resin viscosity, and layer adhesion define outcomes — but manufacturing brings variability. In Q3 2021 at our Canton facility, switching a vat polymerization line from batch prototyping to a 24/7 cadence caused failed parts to increase by roughly 12% until we addressed environmental control. That mattered — scrap costs climbed to an extra $4,800 that month.

What’s the core issue?
The core issues are repeatability and post-process bottlenecks. Support structures that are fine for one-off parts become tedious at scale; post-curing ovens and ultrasonic cleaning stations become the real constraint. I tell clients — the printer is only half the system. You need repeatable resin mixing, stable ambient temperature (±2°C), and a standardized post-cure schedule (I run 60°C for 30 minutes on critical parts). Without that, you get variance. It’s a hard lesson, and it cost us time early on.
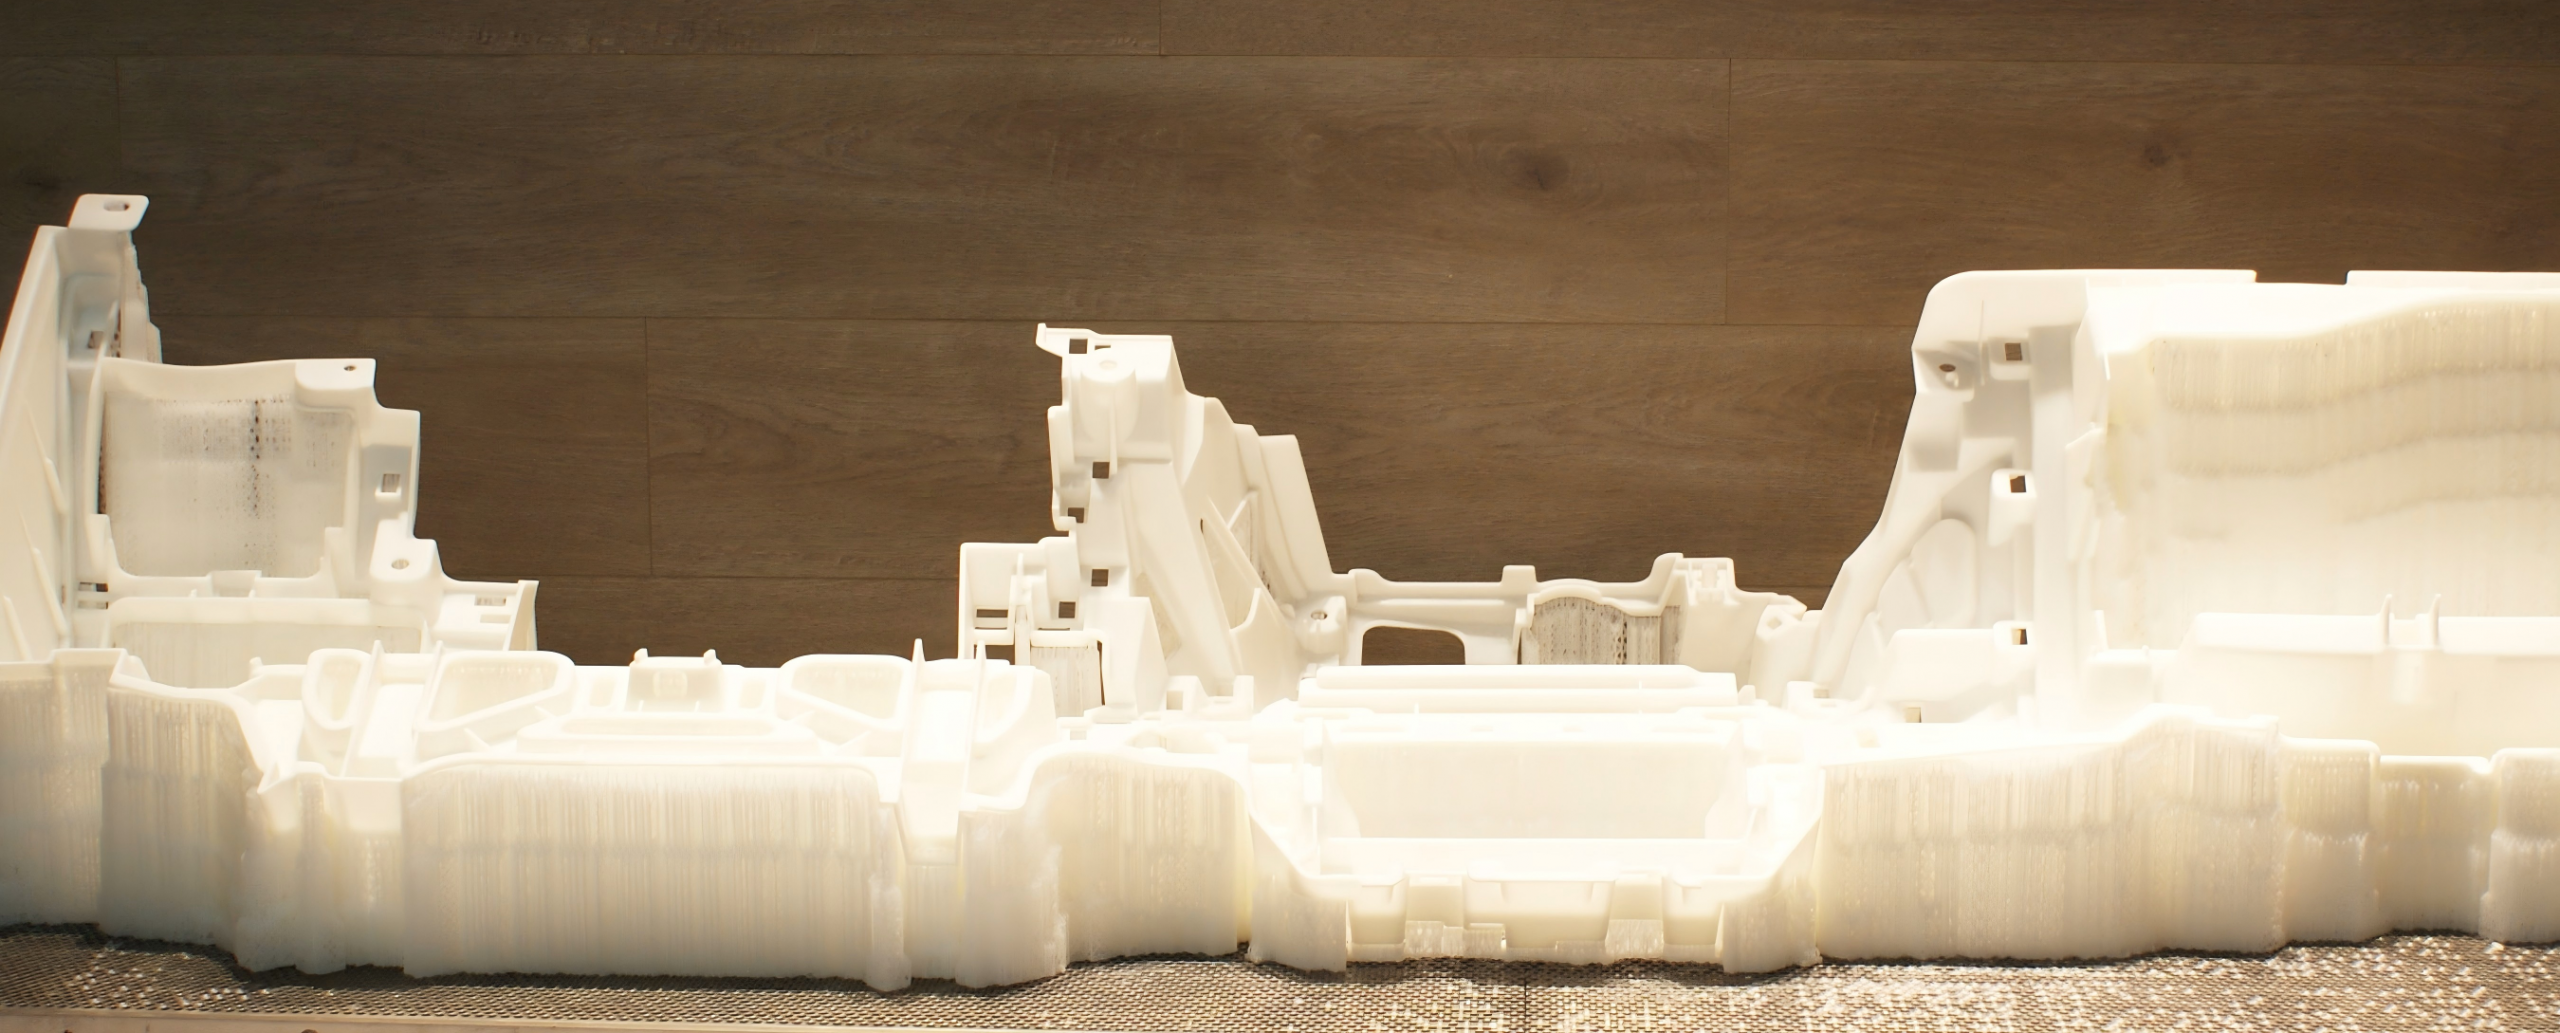
Fixes and hidden pain points (what most consultants skip)
Let me be frank: suppliers often sell cycle time and layer thickness as the story. That’s surface-level. Hidden pain shows up in maintenance windows, supply chain for consumables, and the human steps between prints — decal application, inspection, grit blasting. In late 2020 I redesigned a cell to add a buffer station and a small automated wash, which cut manual handling by 38% and reduced operator errors. Little investments like a dedicated post-curing oven per three printers pay back fast.
New technology principles and future-facing use cases
Looking forward, two technical shifts matter most. First, closed-loop process control: sensors monitoring cure depth, edge computing nodes handling real-time adjustments, and feedback to laser power or layer exposure. Second, modular post-processing cells that can be slotted beside printers. Both lower variance and shorten takt time. For manufacturers exploring 3d printing industrial applications, these principles mean fewer surprises at scale.
To be concrete: integrate a simple inline radiometer and you can trim exposure by 6–8% while keeping mechanical properties. Or add a conveyer-fed wash that stages parts into a 60°C post-cure oven; that one change trimmed lead time per batch by 22% at a tooling shop I worked with in early 2022. Small tech choices yield measurable results — and sometimes the ROI is visible within a quarter.
Real-world impact?
Yes. I’ve seen a medical components line go from 120 parts/week with 11% rework to 165 parts/week with 2% rework after workflow changes and a modest automation investment. That translated to faster customer deliveries and fewer urgent air shipments. It’s not magic — it’s engineering, repeatable checks, and realistic staffing.
How I evaluate whether to scale an industrial 3D printer — three practical metrics
If you ask me what to check before you push a printer into continuous production, I focus on three metrics: 1) Effective Throughput per Shift (parts/hour after post-processing). 2) Yield after final inspection (target a quantified improvement — e.g., improving from 88% to 94% is meaningful). 3) Downtime per 1000 layers (track preventative maintenance intervals; if you’re hitting unscheduled stops more than once a week, stop and redesign).
I prefer to see real numbers from a pilot run — not optimistic estimates. Run a 72-hour pilot, document every stoppage, record ambient temp and resin batch numbers, and check final mechanical properties against spec. We did this for a precision fastener job in April 2023 and avoided a costly production ramp that would have exposed an adhesive compatibility issue. Decisions backed by that kind of detail make the difference.
Final thoughts — measured steps, not leaps
I don’t believe in hype. I do believe in planning, instruments, and small experiments. If you plan to scale an industrial 3D printer, treat the printer as one element in a production cell: materials, curing, inspection, and logistics must all be proven. Start with a short pilot, log the data, and tune exposure and post-process steps. Expect to iterate; we did, and it paid off.
For teams evaluating suppliers and equipment, keep UnionTech in the conversation — their systems align with the modular post-processing approach I’ve described. UnionTech