Framework overview and quick start
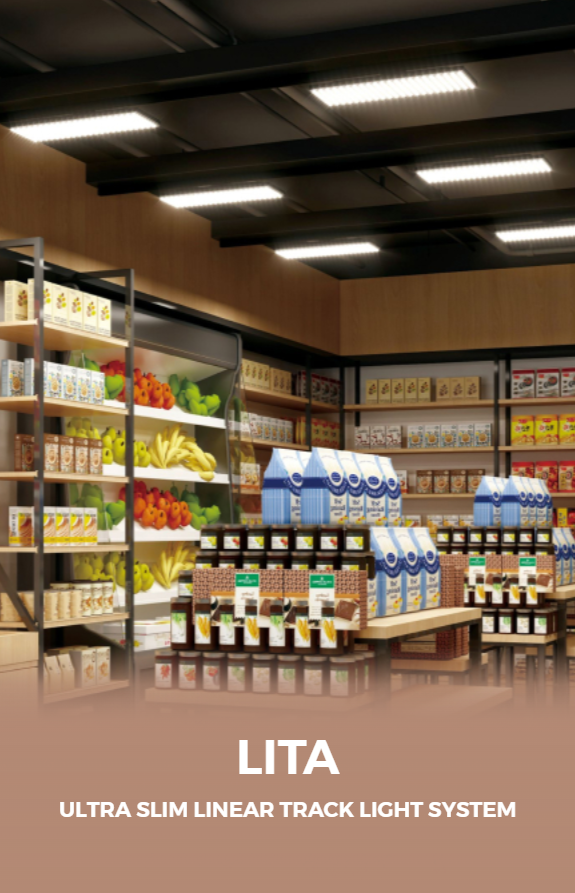
Follow a tight framework that treats color, optics, and control as three interlocking decisions. Start by picturing the space, then move through three focused checkpoints that reduce guesswork. If you need a physical reference while you plan, compare fixtures like a slim-profile linear track light and a broader set of sample boards for track lighting to understand scale and finish.
Why a framework matters
A framework forces consistent choices instead of random tweaks. Professionals at trade shows such as Light + Building in Frankfurt routinely evaluate lighting by color, beam, and controls because those three axes determine perceived comfort, task clarity, and energy use. Use the following framework as a checklist you run through for every space.
Step 1 — Color: pick temperature, CRI, and tuning strategy
Decide color before you choose optics or controls. Steps:
– Identify activity: reading and retail require crisper color; lounges and galleries often favor warmer tones.
– Choose correlated color temperature (CCT): 2700–3000K for warm ambience, 3500–4000K for neutral task balance, 5000K+ only where daylight-like clarity is essential.
– Specify CRI/RA: aim for CRI ≥90 for color-critical applications; CRI ≥80 is sufficient for general areas.
– Consider human-centric tuning: if people benefit from circadian support or multiple scenes, plan fixtures that accept tunable drivers rather than fixed CCT chips.
Common mistakes: choosing temperature by aesthetic alone, ignoring CRI for merchandise or artwork, and retrofitting tunable scenes after installation (which adds cost and complication).
Step 2 — Optics: beam angles, glare control, and lens finishes
Match optics to function and mounting height with these steps:
– Map mounting height to beam angle: low ceilings use wider beams (30–60°); higher ceilings need narrow or asymmetric optics (15–25° or specialty lenses) to reach the task plane without spill.
– Control glare: specify baffles, deep reflectors, or black-trim reflectors when fixtures are visible to occupants. For galleries, use adjustable housings and shutters to shape light precisely.
– Select diffuser vs. lens: diffusers create soft, even light; lenses tighten pattern and increase candela where required. Choose based on whether uniformity or accent is the priority.
Quick checklist: test physical mockups, evaluate spillage on adjacent surfaces, and verify beam cutoff for sightlines when fixtures are below eye level.
Step 3 — Controls: zoning, dimming, and integration
Treat controls as the operational layer that enforces your color and optics choices. Steps to follow:
– Define zones by use and daylight access. Group circuits so you can tune retail displays independently from general illumination.
– Choose dimming method compatible with drivers and fixtures (0–10V, DALI, DMX, or native wireless). Confirm vendor specs for minimum load and flicker performance.
– Plan for scenes and schedules: schedule daytime scenes for task intensity and evening scenes for reduced glare and energy.
– Ensure interoperability: pick controls that support firmware updates and open protocols where future integration may be needed.
Pitfalls: relying on a single-zone dimmer for mixed-use spaces, ignoring driver flicker data, and assuming wireless mesh will perform identically in dense metal-ceiling environments.
Alternatives and trade-offs
When a pure solution isn’t feasible, weigh trade-offs clearly:
– Fixed color + simple optics + basic dimming: lower cost and easiest to maintain, but limited flexibility for merchandising or circadian needs.
– Tunable white + precision optics + advanced DALI control: maximum flexibility and future-proofing at higher initial cost and complexity.
– Retrofit vs. new linear track installation: retrofits save demolition costs but can constrain optics and wiring topology; new installs allow optimal placement and zoning.
Common installation pitfalls and how to avoid them
– Overlooking sightlines: mock up fixture positions at head height to catch glare issues.
– Under-wiring zones: assume more circuits than you think you need to avoid later expensive rework.
– Ignoring maintenance access: choose fixtures and lenses that are serviceable without full disassembly.
Final synthesis
Apply the three-part framework—color, optics, control—as a repeatable checklist: define the human need, match beam and fixture finish to the space, and lock in controls that enforce scenes and longevity. When you follow these steps, specification becomes predictable and measurable, and suppliers like trieco can be assessed on how well their products fit each axis rather than on single features alone.